 Tampa Siding
 Siding Replacement Built for Brandon's Climate
Brandon sits inland from Tampa Bay but doesn't escape what the bay sends its way. Homes here still take a beating from long stretches of intense UV, thick summer humidity, sudden downpours, and the wind that comes with every tropical system that tracks through Hillsborough County. Add in the freeze-thaw-free but moisture-heavy year-round cycle, and siding on a Brandon home is working harder than most homeowners realize. When siding starts failing, it's rarely one dramatic event — it's years of small compromises adding up until a wall section is soft, a color is chalking unevenly, or a storm finally finds the weak point.
A siding replacement in Brandon isn't just a cosmetic upgrade. Done right, it's a chance to correct whatever let moisture in the first time, upgrade to a material that's actually engineered for Gulf Coast conditions, and stop the cycle of repainting and patching every few years.
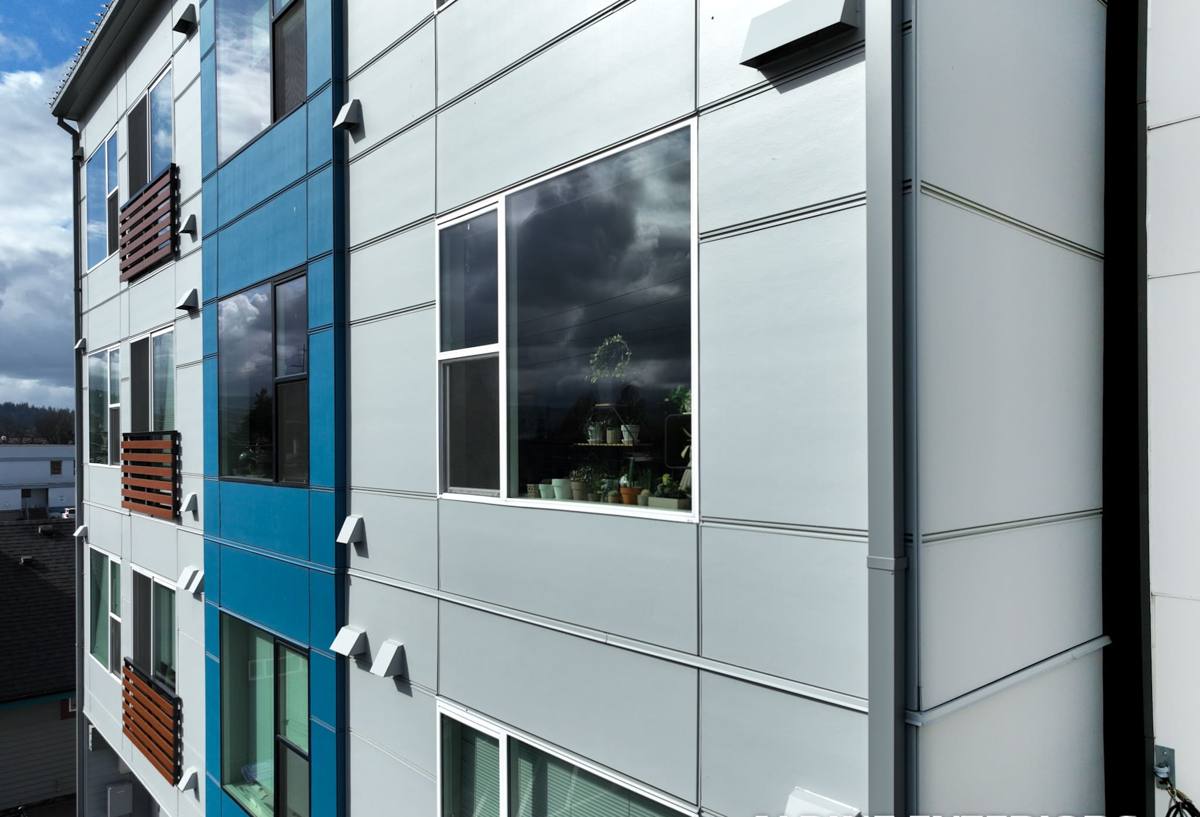
How Local Conditions Wear Down Siding
UV and Heat
Central Florida sun is relentless. Lower-grade siding materials and factory finishes that aren't formulated for this level of UV exposure fade, chalk, or become brittle well ahead of their rated lifespan. Dark colors on unshaded elevations take the worst of it.
Humidity and Moisture
Hillsborough County's humidity means siding assemblies rarely get a long dry stretch to fully release moisture that gets behind the cladding. Materials and installation details that trap water — poor flashing, missing drainage gaps, caulk used as a substitute for proper flashing — cause rot and swelling that isn't always visible from the street.
Wind and Wind-Driven Rain
Even when a storm doesn't produce structural damage, wind-driven rain forces water sideways into laps, seams, and penetrations that were never designed to handle horizontal water intrusion. Over repeated storm seasons, this is often the real cause of hidden sheathing damage behind siding that still looks fine on the surface.
Signs a Brandon Home Needs Replacement, Not Repair
Not every siding problem calls for a full tear-off. But patching a symptom without addressing the underlying material or installation issue usually just delays a bigger job. Here's what typically tips a home from "repair" into "replace":
- Soft, spongy, or crumbling siding when pressed — a sign of moisture damage to the panel or the sheathing behind it
- Visible buckling, warping, or gaps between courses
- Paint or factory finish that's failing across large sections rather than one isolated spot
- Recurring mold, mildew, or dark staining that returns shortly after cleaning
- Siding that's original to a home 20+ years old, especially if it's a wood composite or older vinyl product
- Rising energy bills tied to a wall assembly that's no longer sealing or insulating as intended
- Visible damage after a storm season — cracked panels, lifted edges, or missing sections
What a Correct Siding Replacement Involves
Siding replacement is not simply removing old panels and nailing up new ones. The parts of the job that don't show up in a photo are usually what determine whether the new siding lasts 30 years or fails again in five.
1. Full Tear-Off and Inspection
Old siding comes off completely so the sheathing underneath can be inspected. Any rot, soft spots, or storm-related damage to the wall structure gets repaired before anything new goes up — covering damaged sheathing with new siding just hides a problem that will resurface.
2. Weather-Resistive Barrier
A proper moisture barrier goes over the sheathing before siding installation begins. In a humid, storm-prone area like Brandon, this layer is doing real work — it's the backup plan for the water that inevitably gets past the siding's outer surface.
3. Flashing at Every Penetration
Windows, doors, vents, hose bibs, light fixtures — every penetration through the siding is a potential entry point for wind-driven rain. Correct flashing detail at each one is one of the biggest differentiators between an installation that holds up and one that doesn't.
4. Manufacturer-Spec Fastening and Clearances
Fastener spacing, siding-to-ground clearance, and gaps at trim and corners all have to follow the manufacturer's installation instructions. Skipping these details voids warranty coverage and creates the exact conditions — trapped moisture, wicking at the bottom edge — that cause premature failure in this climate.
5. Trim, Caulking, and Paint/Finish Details
The finish work is what protects the seams and edges long-term. Quality caulking at the right joints (and no caulking where it shouldn't be used as a substitute for flashing) makes a measurable difference in how the siding performs through its first several storm seasons.
Why We Install Only James Hardie Fiber Cement
We standardized on James Hardie siding for every job we do, including replacements in Brandon, and we don't install vinyl, LP SmartSide, or other fiber cement brands. That's a deliberate choice, not a sales preference.
James Hardie's HZ product lines are engineered specifically for humid, high-UV climates like ours. The material is non-combustible, resists moisture-related swelling and rot far better than wood composite products, and holds its factory-applied ColorPlus finish through years of Florida sun without the chalking and fading that plagues field-painted siding. It also carries a strong transferable warranty backed by a manufacturer with a long track record in coastal and Gulf climates — which matters when you're making a 30-year decision about your home's exterior.
We won't put a product on a Brandon home that we don't believe will hold up to what this climate actually does to a house. Fiber cement, installed correctly, is the material we're willing to stand behind.
Our Replacement Process
| Step | What Happens |
|---|---|
| Assessment | On-site inspection of existing siding, sheathing, and problem areas; honest read on repair vs. replace |
| Estimate | Written scope and pricing, including any sheathing repair anticipated |
| Tear-Off | Complete removal of old siding and disposal |
| Sheathing Repair | Any damaged wood is replaced before moving forward |
| Weather Barrier & Flashing | Installed per manufacturer and code requirements at every penetration |
| Hardie Installation | Panels installed to manufacturer spec for fastening, clearance, and joint treatment |
| Trim & Finish | Corner trim, caulking, and final detail work |
| Final Walkthrough | Site cleanup and a walk-through of the finished job with the homeowner |
What Affects the Cost of a Siding Replacement
| Factor | Why It Matters |
|---|---|
| Home size and wall area | More square footage means more material and labor |
| Sheathing condition | Rot or storm damage discovered during tear-off adds repair scope |
| Siding profile and trim complexity | Lap width, board-and-batten accents, and trim detail affect labor time |
| Number of stories and roofline complexity | Multi-story homes and complex gables require more staging and time |
| Color and finish selection | Factory ColorPlus finishes vs. field painting affect material cost and long-term maintenance |
| Access and site conditions | Tight lot lines, landscaping, and fencing can affect setup and disposal logistics |
We give a written, itemized estimate before any work begins so there are no surprises once tear-off starts.
Why a Crew That Already Works in Brandon Matters
Siding installation quality is inconsistent industry-wide, and a lot of that variation comes down to whether the crew understands the specific conditions of the area they're working in. A contractor who works Hillsborough County regularly already knows how local wind loads, humidity, and storm patterns should shape flashing details and fastening decisions — it's not something they're learning on your house. Local crews are also more familiar with Brandon-area permitting and inspection expectations, which keeps the project moving instead of stalling on paperwork or code questions.
There's also the practical matter of accountability. A company that's local and plans to keep working in Brandon has every reason to get the installation right the first time and to stand behind the work afterward.
After Installation: Keeping Hardie Siding Performing
James Hardie siding is low-maintenance compared to wood composite or repeatedly-painted materials, but "low-maintenance" isn't "no-maintenance." A simple annual routine keeps it performing:
- Rinse the exterior periodically to remove salt air residue, pollen, and grime buildup
- Inspect caulk lines at trim and penetrations once a year and touch up as needed
- Trim landscaping back from siding to maintain airflow and reduce trapped moisture
- After major storms, do a visual check for lifted panels, damaged trim, or debris impact
- Address any touch-up painting promptly at cut edges or repair areas to prevent moisture entry
Ready to Talk About Your Siding?
If your Brandon home's siding is showing its age or didn't hold up the way it should have, we're happy to take a look and give you a straight assessment of what you're dealing with. Fill out the form below for a free, no-pressure estimate — no obligation, just an honest look at your options.