 Tampa Siding
 Why South Tampa Is Tougher on Siding Than Most Neighborhoods
South Tampa sits close to the water on nearly every side, which means homes here take on a combination of stresses that inland Hillsborough County neighborhoods simply don't see as often. Salt-laden air drifts in off the bay and settles on exterior surfaces, accelerating corrosion of fasteners and trim and breaking down cheaper siding finishes years before their rated lifespan. Add in Tampa's intense, nearly year-round UV exposure, wind-driven rain that gets pushed sideways into wall assemblies during storms, and the straight-line and hurricane-force winds that pass through the bay area during the season, and you have a climate that punishes any siding product not built and installed specifically for it.
Older homes throughout South Tampa were often re-sided at some point with whatever product was standard at the time, and many of those systems are now showing their age faster than the homeowner expected. A siding replacement here isn't just a cosmetic upgrade — it's the single biggest factor in how well the rest of the exterior holds up against the next decade of Gulf Coast weather.
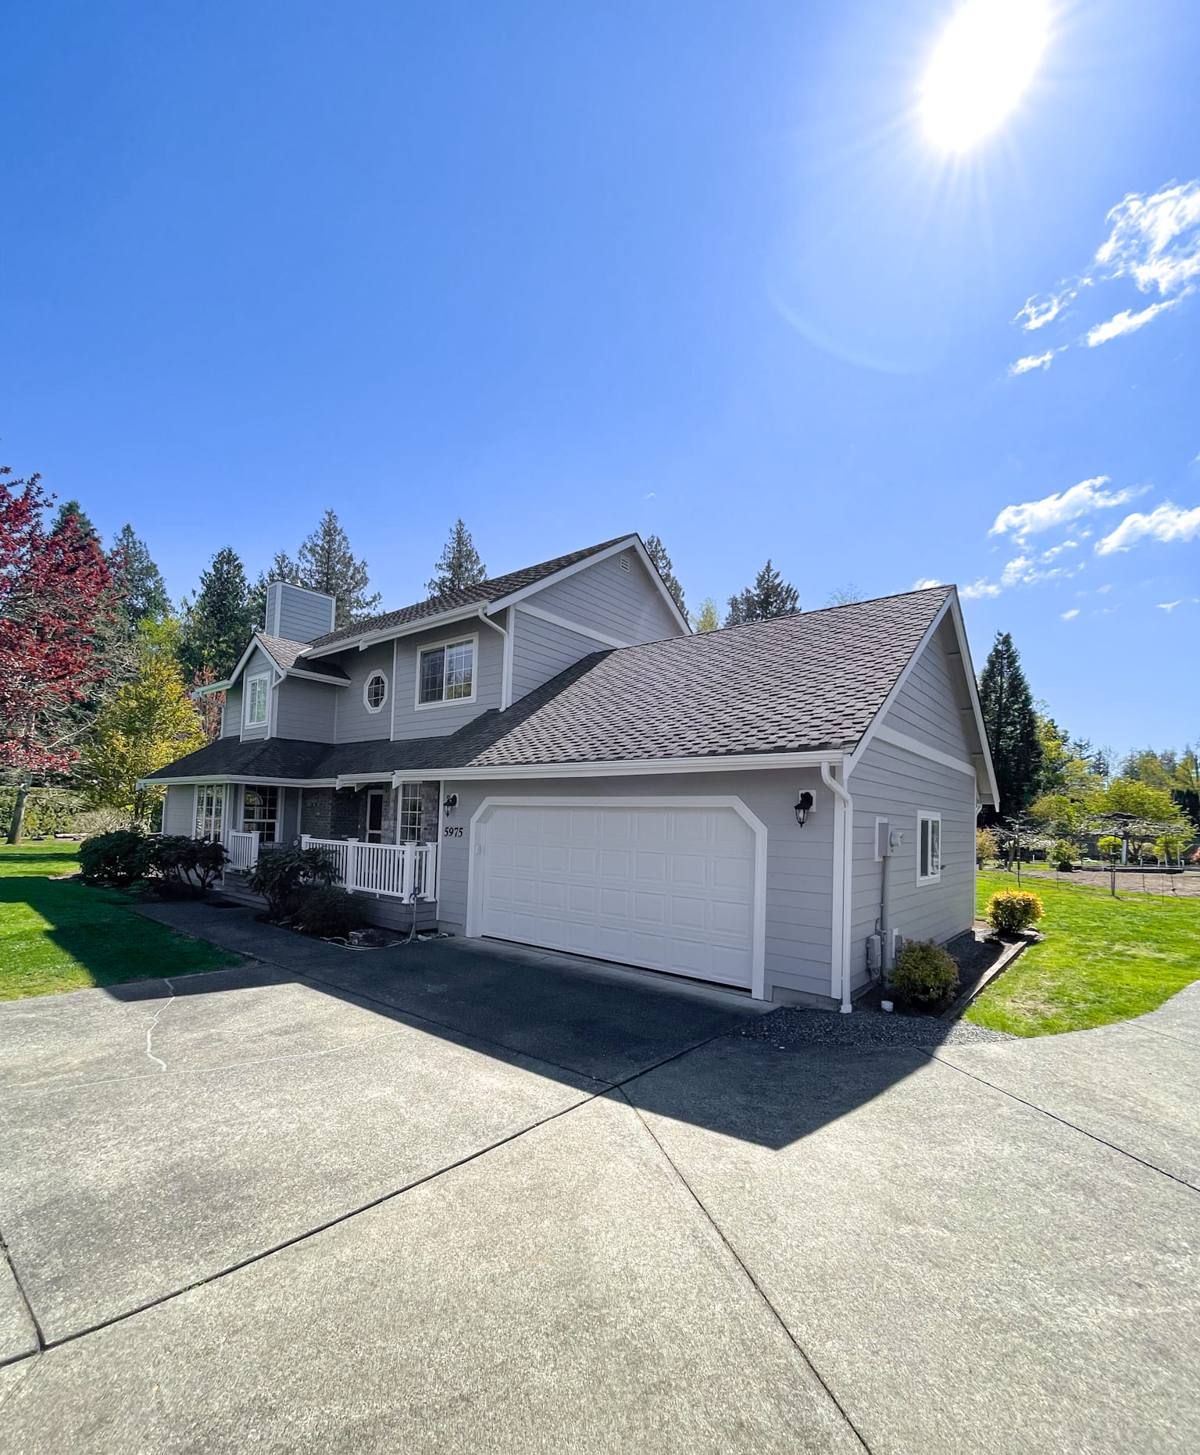
Signs a South Tampa Home Needs Siding Replacement, Not Just Repair
Not every issue means a full tear-off, but several signs point to a siding system that's past the point of patching:
- Soft or spongy spots when you press on the siding, especially near the bottom courses and around window and door trim
- Visible warping, buckling, or panels that no longer sit flat against the wall
- Paint that keeps failing within a year or two of repainting, even with quality paint
- Persistent staining, streaking, or a chalky white residue that returns after washing
- Soft, crumbling trim boards or corner pieces, especially where salt air exposure is highest
- Visible gaps at seams, corners, or fastener heads that let water and pests behind the panels
- Interior signs like musty smells, bubbling paint, or soft drywall near exterior walls
If you're seeing more than one of these, the underlying water-resistive barrier and sheathing may already be compromised, which changes the scope of the job from a resurface to a full replacement with a proper inspection of what's underneath.
Why We Install Only James Hardie Fiber Cement
We made a deliberate decision to stop installing vinyl, LP SmartSide, and other fiber cement or wood-composite alternatives, and to install James Hardie fiber cement exclusively. That's not a marketing position — it's a response to what we've seen these other products do specifically in coastal Florida conditions over years of installs and callbacks.
Vinyl siding is affordable and easy to install, but it softens and can distort in sustained high heat, and in wind events it's more prone to cracking or blowing off at the clips than a heavier, mechanically fastened product. Engineered wood products perform well in many climates but rely on their factory coating and sealed edges staying intact — any cut edge, fastener puncture, or coating failure exposes wood-based material to the moisture load South Tampa throws at a house, and repairs are unforgiving once that happens. James Hardie's fiber cement is non-combustible, doesn't swell or rot when it takes on moisture the way wood-based products can, and its ColorPlus factory finish is baked on to resist the fading and chalking that UV and salt air cause faster here than almost anywhere else in the state.
None of this means other products are without merit for other climates or budgets. It means that for what we're asked to put on homes in this specific area, Hardie's material properties and warranty structure line up with what actually needs to happen for the siding to still look right in fifteen years.
What a Correct Siding Replacement Actually Involves
The siding itself is only part of the system. A replacement done right addresses everything the panels sit on top of, because that's usually where failures start.
| Step | What It Should Include |
|---|---|
| Tear-off and inspection | Full removal of old siding and trim, followed by inspection of the sheathing for rot, delamination, or insect damage before anything new goes up |
| Sheathing repair | Any compromised sheathing replaced, not skimmed over — this is the step that gets skipped most often when a job is priced too low |
| Water-resistive barrier | A continuous, properly lapped weather barrier installed over the sheathing, with all seams and penetrations sealed |
| Flashing | New flashing at windows, doors, and any wall penetrations, integrated with the water barrier so water is directed out, not trapped in |
| Fastening | James Hardie panels and trim fastened per manufacturer specification for wind zone and exposure, not just "close enough" |
| Finish detailing | Proper clearances at grade, decks, and roof lines so the siding never sits in standing water or constant splash-back |
Skipping or rushing any one of these steps is how a siding job that looks fine on day one starts failing behind the scenes within a few years — long before the panels themselves would have worn out.
Our Process, Start to Finish
Assessment and Estimate
We start with an on-site look at the current siding, trim, and any visible trouble spots, and we're upfront about what we find — including whether an area needs more than a simple resurface.
Product and Color Selection
We walk homeowners through the relevant James Hardie HZ product lines and ColorPlus options so the final look fits the house and the neighborhood, without oversimplifying the choice to "pick a color."
Tear-Off and Substrate Repair
Old material comes off, and any sheathing or framing issues get addressed and documented before new material goes on — no covering up a problem to save a step.
Installation to Manufacturer Spec
Barrier, flashing, and panel installation follow James Hardie's published specifications for fastening patterns, clearances, and joint treatment, which is also what keeps the manufacturer's warranty intact.
Final Walkthrough
We review the finished exterior with the homeowner, checking trim lines, caulking, and paint before calling the job done.
Cost Factors for a South Tampa Siding Replacement
Every home is different, but the same handful of variables drive most of the price difference between two similar-looking projects.
| Factor | Why It Matters |
|---|---|
| Home size and wall complexity | More corners, gables, and dormers mean more cutting, trim work, and labor hours |
| Condition of existing sheathing | Hidden rot or water damage found during tear-off adds repair scope that can't be priced sight unseen |
| Siding profile and accessories | Lap width, trim detail, and any accent features affect both material cost and install time |
| Access and site conditions | Tight lot lines, fencing, pools, and landscaping common in dense South Tampa lots can slow staging and cleanup |
| Painting vs. ColorPlus finish | Factory-applied ColorPlus finishes cost more up front but remove the recurring cost and risk of field painting |
We give a written, itemized estimate so homeowners can see exactly what's driving the number, rather than a single lump figure.
Why Local Experience in South Tampa Matters
A crew that regularly works South Tampa knows what the housing stock in this part of Hillsborough County tends to need — from the age and construction style of many of the homes to the way bay-adjacent lots handle drainage and wind exposure differently than properties further inland. That familiarity shows up in small but important decisions: how clearances are set at grade, how flashing details are handled around older window openings, and how a job is sequenced around the area's storm season so a home isn't left exposed longer than necessary. It also means a contractor who's already dealt with local permitting requirements and inspection expectations, which keeps a project moving instead of stalling on paperwork.
Caring for James Hardie Siding After Installation
One advantage of switching to fiber cement is how little ongoing maintenance it demands compared to what many South Tampa homeowners are used to. Still, a few habits extend its life even further:
- Rinse the exterior periodically to clear salt residue and airborne debris, especially on sides facing the water
- Keep gutters clean and downspouts directed away from the foundation to limit splash-back onto lower courses
- Trim landscaping back from the siding so leaves and moisture don't sit against the surface
- Recaulk trim joints if you notice gaps developing, rather than waiting for water intrusion
- Have the exterior looked at after any major storm, even if damage isn't obvious from the ground
If your South Tampa home's siding is showing its age, or you just want an honest read on whether repair or full replacement makes more sense, we're happy to take a look. Fill out the form below for a free, no-pressure estimate.